
What if you could add freshly harvested greens to your meals without needing a large garden?
Herbs and microgreens make this possible. They are excellent choices for people who want to start gardening but have limited space, time, or experience. A small balcony, sunny windowsill, or kitchen corner with suitable light can become a lovely little growing space.
At Vanam House of Plants, we believe every home has a garden waiting to happen. And sometimes, the easiest way to begin is with a handful of seeds, a shallow container, and a little patience.
In this guide, we’ll explore how to grow microgreens and herbs at home, which varieties beginners can try, and how to care for them.
1. What Are Microgreens?
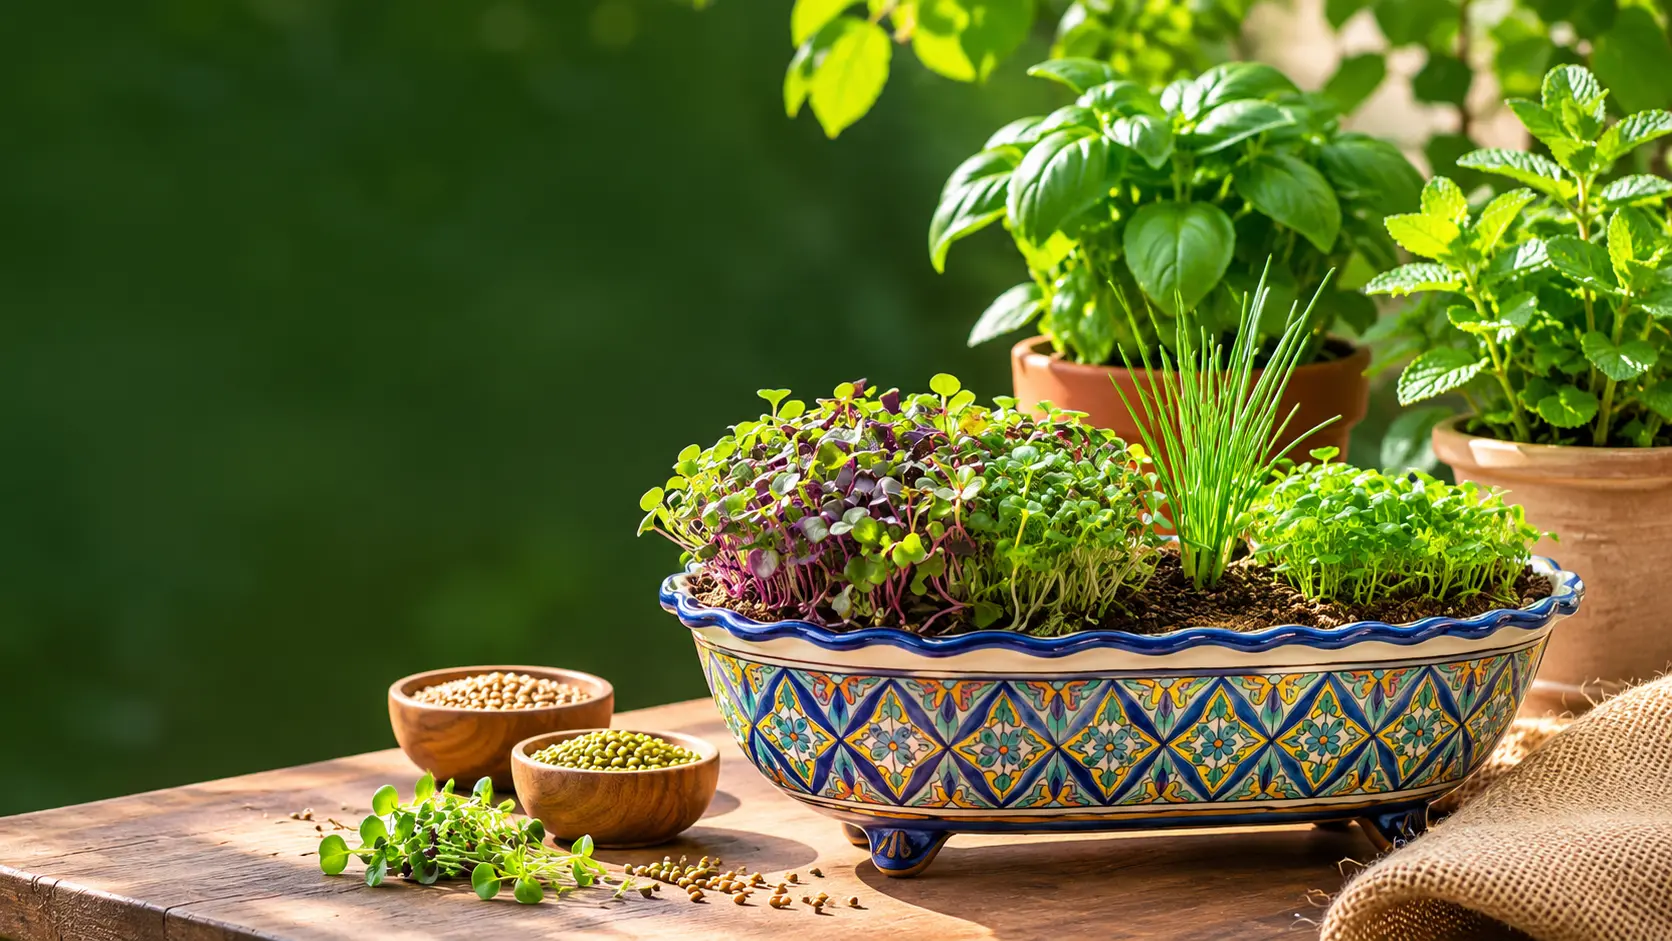
Microgreens are young edible seedlings harvested after their first leaves have developed, usually when they are still small and tender.
They are different from sprouts. Sprouts are generally harvested very early, often including the seed and root, while microgreens are grown in a growing medium and cut above the surface when ready.
Some popular microgreens to grow at home include:
Methi (fenugreek): Easy to grow and familiar in Indian kitchens.
Mustard: Has a distinctive, slightly peppery flavour.
Radish: Grows quickly and adds a crisp, peppery taste.
Broccoli: A popular choice for home microgreen growing.
Sunflower: Produces crunchy young greens when grown from suitable seeds.
Peas: Can produce tender shoots with a mild, sweet flavour.
Microgreens can be added to salads, sandwiches, wraps, soups, and everyday meals.
2. Why Grow Microgreens at Home?
Microgreens are a wonderful starting point for beginners because they need relatively little space and can be harvested much sooner than many mature vegetables.
Here are some reasons to try them:
Space-friendly: Shallow trays can fit on a balcony or windowsill.
Beginner-friendly: Many varieties have a simple growing process.
Quick growing cycle: Many microgreens are ready to harvest in roughly 7–21 days, depending on the variety and conditions.
Fresh harvests: Cut only what you need for your meal.
Variety: Experiment with different seeds, flavours, colours, and textures.
Growing times vary, so always check the seed variety and observe the plants rather than relying on one fixed harvesting date.
3. What Do You Need to Grow Microgreens?
You don’t need an elaborate gardening setup. Start with a few basic supplies.
A shallow tray
Choose a clean, food-safe tray with drainage holes. You can place it over a second tray to collect excess water.
Suitable seeds
Use seeds specifically suitable for edible microgreen production. Choose untreated seeds from a reliable supplier and avoid seeds treated with chemical coatings or those intended only for ornamental planting.
Growing medium
A light, clean growing medium helps support the seedlings and retain moisture. Cocopeat or a suitable seed-starting mix can work well.
Water spray bottle
A spray bottle helps you moisten the growing medium gently, especially during germination.
Natural light
Once the seeds have germinated, provide bright light. A bright windowsill or balcony with suitable indirect sunlight can work.
4. Step-by-Step: How to Grow Microgreens at Home
Let’s start with a simple tray of methi or mustard microgreens.
Step 1: Prepare Your Tray
Clean your tray and ensure it has drainage holes. Add approximately 2–3 cm of moist growing medium and spread it evenly.
Avoid packing the medium too tightly.
Step 2: Sow the Seeds
Spread the seeds evenly across the surface. They should be close enough to create a healthy crop but not so crowded that airflow becomes restricted.
Follow the recommended sowing density for the seed variety.
Step 3: Cover During Germination
Some microgreen varieties benefit from a short period of darkness or gentle covering during germination. Follow the specific instructions for your seeds.
Keep the medium moist, not waterlogged.
Step 4: Provide Light
Once the seedlings emerge, remove the cover and place the tray in a bright location.
Good airflow and sufficient light help the seedlings grow upright and healthy.
Step 5: Water Carefully
Check the growing medium regularly. Water gently when needed, avoiding excessive moisture.
Bottom watering can help keep the leaves dry and reduce the risk of mould.
Step 6: Harvest Your Microgreens
When the seedlings have developed their first true leaves or reached the appropriate stage for their variety, use clean scissors to cut them just above the growing medium.
Wash the harvested greens under clean running water and dry them properly before eating.
5. Which Herbs Can You Grow at Home?
Microgreens are not the only way to enjoy fresh greens. Culinary herbs are also useful additions to a home garden.
Here are five herbs worth trying.
Mint (Pudina)
Mint is a popular herb for Indian households.
Grow it in a container with drainage holes.
Provide bright light and some protection from harsh afternoon sun.
Keep the growing medium evenly moist.
Trim regularly to encourage fresh growth.
Mint can spread quickly, so growing it in its own container is a good idea.
Coriander (Dhaniya)
Coriander is useful for garnishing and everyday cooking.
Sow coriander seeds in a wide container.
Lightly cover them with growing medium.
Keep the medium moist during germination.
Give the seedlings adequate light.
Coriander can bolt quickly in hot weather, so choose a suitable season and location.
Basil (Tulsi and Sweet Basil)
Basil varieties are attractive and useful additions to a balcony garden.
Use a container with good drainage.
Provide plenty of light.
Water when the top layer of the medium begins to dry.
Pinch growing tips to encourage bushier growth.
Different basil varieties have different growing and culinary uses.
Curry Leaves
Curry leaf plants are useful for anyone who regularly cooks Indian food.
Choose a reasonably large container.
Place it in a sunny location.
Avoid waterlogging.
Allow the plant to establish before harvesting heavily.
Lemongrass
Lemongrass can grow well in containers when given enough room.
Use a larger pot with good drainage.
Provide plenty of sunlight.
Water regularly during active growth.
Harvest mature leaves carefully.
6. How to Care for Herbs and Microgreens
Although herbs and microgreens have different growing requirements, a few basic practices can help both.
Sunlight: Give herbs suitable light for their variety. Microgreens need bright light after germination.
Watering: Avoid keeping the growing medium constantly saturated. Check moisture before watering.
Air circulation: Keep sufficient space between containers and avoid overcrowding.
Cleanliness: Use clean trays, fresh growing medium, and clean tools. Good hygiene is particularly important when growing edible microgreens.
Harvesting: Use clean scissors and harvest only healthy plants.
7. Common Mistakes Beginners Should Avoid
A few small mistakes can affect the growth of your herbs and microgreens.
Overwatering: Excess moisture can encourage mould and root problems.
Poor drainage: Containers should allow excess water to escape.
Too many seeds: Overcrowding can reduce airflow and encourage disease.
Insufficient light: Seedlings may become weak and stretched.
Using unsuitable seeds: Choose seeds intended for edible growing.
Ignoring cleanliness: Dirty trays and tools can contaminate edible greens.
Harvesting too late: Follow the recommended stage for each microgreen variety.
If you notice fuzzy growth, unpleasant smells, or signs of decay, do not eat the affected crop. Clean the tray thoroughly before starting again.
8. How to Use Fresh Herbs and Microgreens in Your Kitchen
One of the nicest parts of growing your own greens is using them in everyday meals.
Try adding them to:
Fresh salads and vegetable bowls.
Sandwiches and wraps.
Dal, soups, and curries.
Parathas and chutneys.
Smoothies and breakfast bowls.
Homemade dips and garnishes.
Add delicate microgreens towards the end of cooking or use them fresh to preserve their texture.
9. Start Small, Grow More with Vanam
You don’t need a large garden to experience the joy of growing your own food.
Start with one tray of methi microgreens, a pot of mint, or a small coriander container. Observe how they grow, learn what works in your space, and gradually try new varieties.
At Vanam House of Plants, we want to make gardening approachable and enjoyable for everyone. Whether you’re growing your first microgreens or building a small herb garden, every little step brings more greenery into your home.
A little space, a few seeds, and a little care can bring something wonderful to your everyday life.
Every home has a garden waiting to happen. Let’s grow yours!
Frequently Asked Questions
How long do microgreens take to grow?
Many varieties can be harvested in approximately 7–21 days, depending on the seed variety, temperature, light, and growing conditions.
Can I grow microgreens without a garden?
Yes. Microgreens can be grown in shallow trays on a suitable windowsill, balcony, or other clean, well-lit indoor space.
Which microgreens are easiest for beginners?
Methi, mustard, radish, and peas are useful varieties to try when starting out.
Can I grow herbs indoors?
Yes, provided the herbs receive enough suitable light and have containers with proper drainage. A bright windowsill can work for some varieties.
How often should I water microgreens?
Check the growing medium daily and keep it moist without making it waterlogged. Watering frequency depends on the tray, medium, temperature, and airflow.
Are microgreens and sprouts the same?
No. Sprouts are generally harvested very early and often eaten with their roots and seeds. Microgreens are grown in a medium and cut above the surface after developing leaves.
Happy Gardening! 🌱
Team Vanam House of Plants